Deploying PayloadCMS app to CloudPanel
- December 10th, 2024
-
Matija Žinić
PayloadCMS is a powerful headless CMS that gives developers the flexibility they need while providing a great editorial experience. In this guide, we’ll walk through the process of deploying a PayloadCMS application to CloudPanel, ensuring your content management system is secure, scalable, and properly configured.
Before we begin, make sure you have:
Ready? Let’s dive in!
Before we get started deploying our project, we need to create our CloudPanel site, which will automatically create an SSH user. We will then use this user to SSH into our VPS and execute the commands needed to deploy our app.

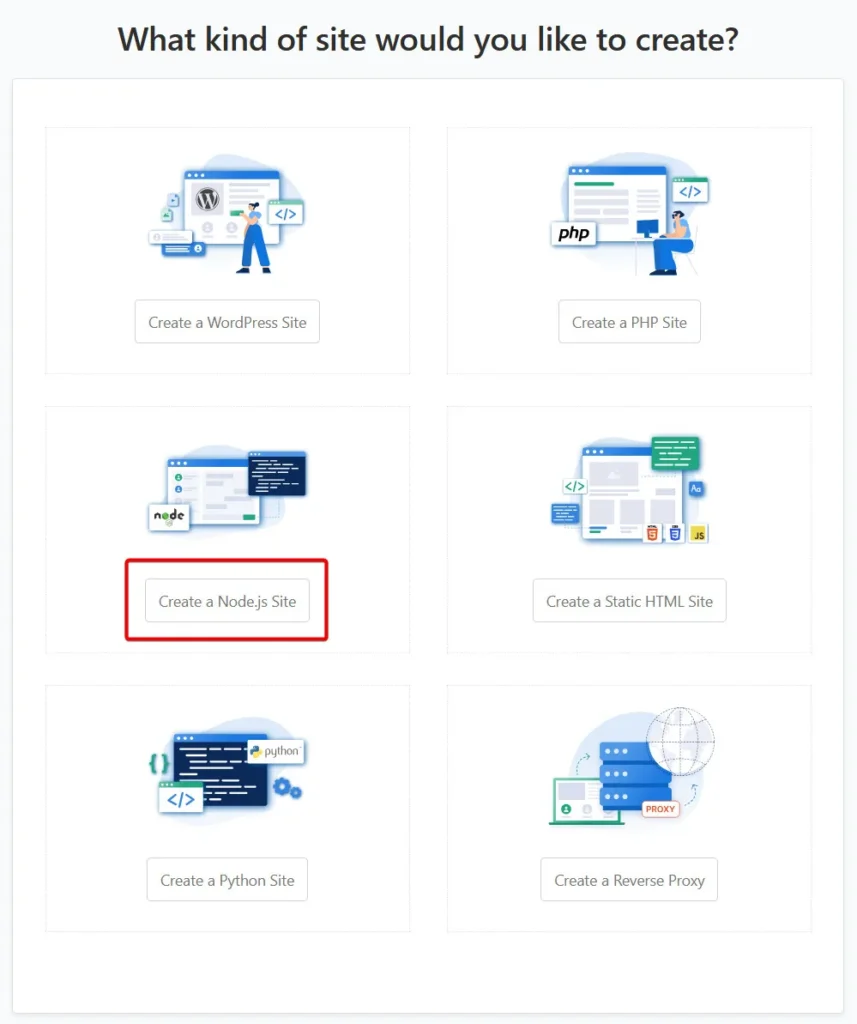
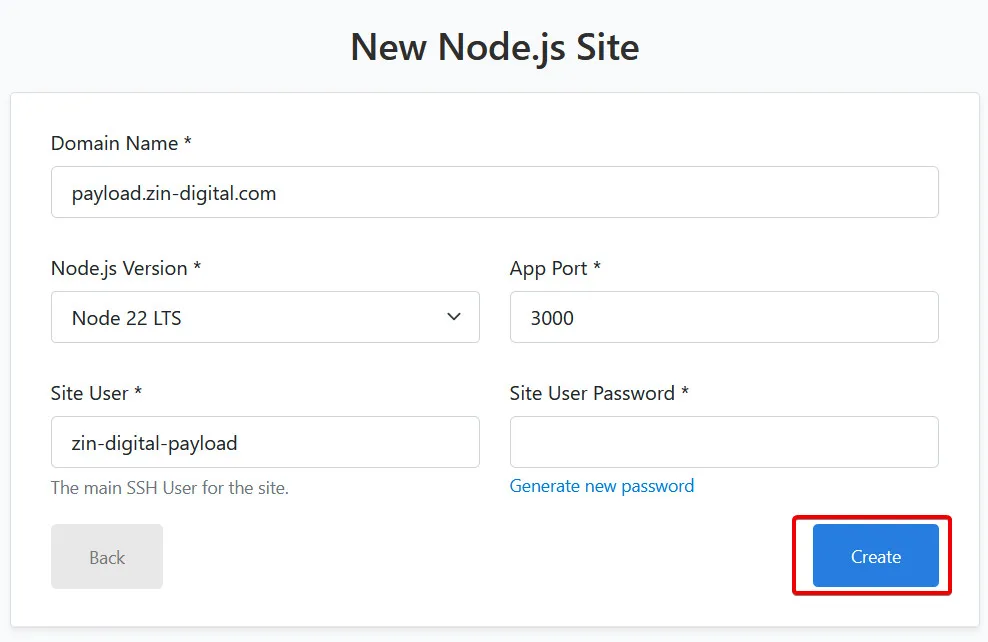
If you are familiar with CloudPanel, you’ll know that there are 2 options for a database driver: MySQL and MariaDB. This is fine for most apps, especially WordPress, since it allows us to create databases straight from the panel interface.
Unfortunately, PayloadCMS currently only comes with support for MongoDB, PostgreSQL and SQLite. This means that we will either have to use 3rd party services (like MongoDB Atlas, Supabase etc.), or we will have to manually install database drivers to our VPS.
Since I personally prefer to have all my data owned by myself, I opted for the local DB installation. Plus, using a 3rd party database service would defeat the whole purpose of self-hosting a Payload app – I’d instead use a platform such as Vercel for that.
To get started installing and creating initial databases for our app, we need to SSH into our VPS as a root user. It’s not possible to install packages as a site user.
ssh root@<your-vps-address>After logging in as root, we need to install a DB driver that we want to use. I prefer relational databases so I opted for PostgreSQL.
apt install postgresqlOnce the installation finished, we need to start and enable the postgresql service, so it starts automatically even if our VPS restarts.
service postgresql enable
service postgresql start
Now that we have started PostgreSQL driver successfully, we have to create our database.
First, we have to switch to the newly created postgres user, as that’s the user that has the ability to create and modify databases.
su - postgresOnce we have switched our user, we have to enter psql, which is a terminal-based front-end to PostgreSQL.
psql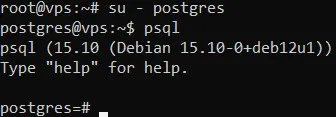
Now that we are in psql-mode, we have full permissions and ability to create and modify databases however we want and like.
For our app, we first need to create a user and set a password – that will be the user that will be able to modify our database.
CREATE USER payload WITH PASSWORD 'payload-db-pass';After that, we create our database and make our user the owner of the database – this provides it with the ability to modify said database and the schema::
CREATE DATABASE payload_db;
ALTER DATABASE payload_db OWNER TO payload;
GRANT ALL PRIVILEGES ON DATABASE payload_db TO payload;
If you receive an error along the lines of “permission denied for schema public” upon running your app, run the following command as well:
GRANT ALL ON SCHEMA public TO payload; After starting our database driver and creating our database that will be used for the app, it’s time to deploy the app itself.
To get started, log into your VPS as a site user that was created upon the creation of a site.
ssh <your-user>@<your-vps-address>After logging in as your user, we need to upload the application files to our app’s root directory. Root directory can be found inside the Cloudpanel area:
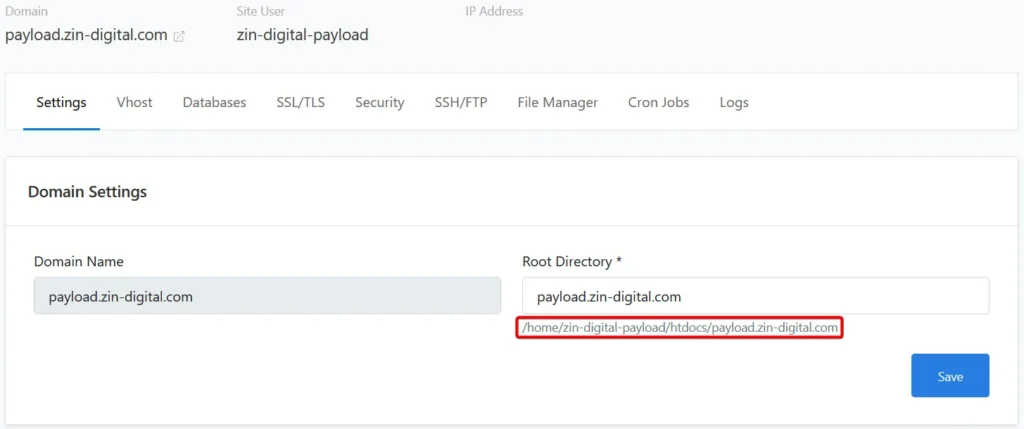
Switch to the directory:
cd /home/<site-user>/htdocs/<site-domain>The easiest way to upload our application files is by cloning the Github repo:
git clone https://github.com/your_username/your-repo.git .Next, let’s simply list the files in the directory to make sure our app was cloned successfully.
ls -la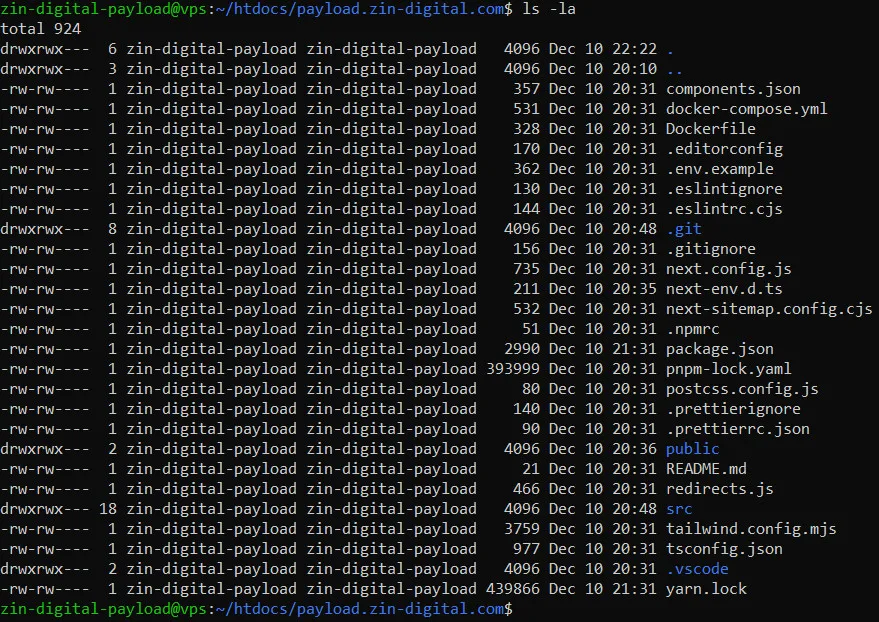
Voila – our files are now right here, on our VPS. Now it’s just a simple case of installing dependencies, building and starting our app.
However, prior to building an app, we have to setup our ENV variables. Those include our database URI, the secret string Payload uses to encrypt and decrypt JWT tokens and the public app URL, which is used to configure CORS, format links and more. To do that, copy the example .env file:
cp .env.example .envAnd then enter your variables:
nano .envDATABASE_URI=postgresql://<user>:<password>@127.0.0.1:5432/db-name
PAYLOAD_SECRET=YOUR_SECRET_HERE
NEXT_PUBLIC_SERVER_URL=https://yourdomain.com
Next up, we have to install all dependencies of our app, which can be done via package manager of your choosing. For simplicity, we’re using npm, but yarn & pnpm are also viable options – you’ll just have to install them first:
npm installAfter installing the dependencies, we have to build our app for production:
npm run buildOnce our app is built for production, we simply have to start our server:
npm run startIf everything went successfully, you will see this message in your terminal:
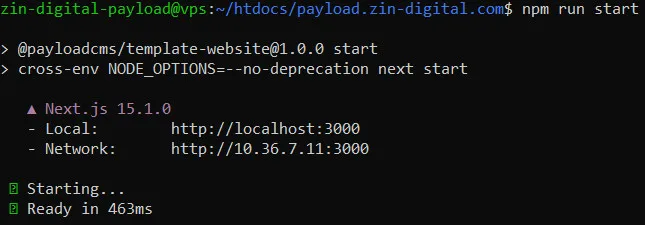
That is extremely good sign – this means our app is working correctly. Remember, earlier on we created a Node.js app and specified port 3000 – that’s the port that our app is using, so we should now be able to simply visit our domain to view the app.
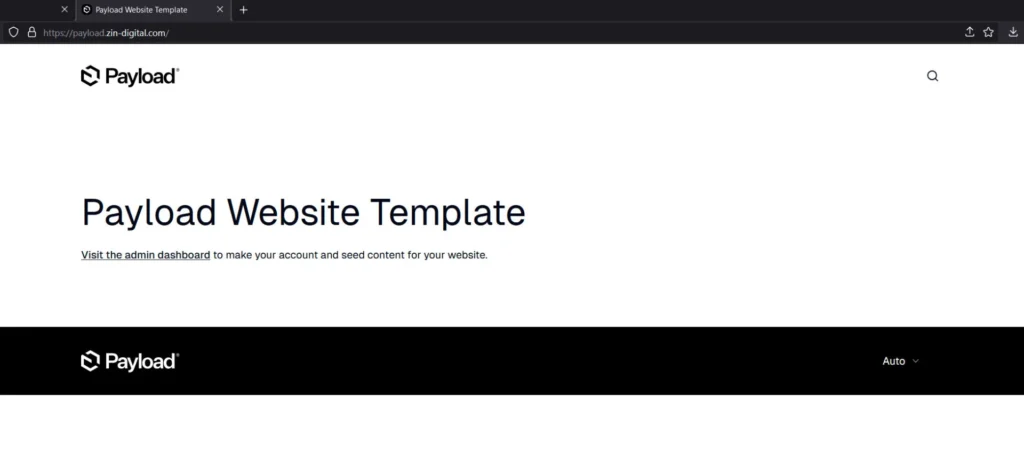
Our app is now live for the entire internet to see. However, you may have noticed a small problem – we can’t use our terminal anymore without closing the app. This is not something that’s going to work, so let’s fix that.
This can be fixed by install pm2, which is a daemon process manager that will help you manage and keep your application online 24/7. We have to install it via npm:
npm install --global pm2Then, simply run the following command to start pm2 (make sure you replace the app name with your own):
pm2 start npm --name "<your-app-name>" -- start
This will keep our application up and running 24/7 (of course, unless our entire VPS goes down).
To update your application:
git pull origin main
npm install
npm run build
pm2 restart <app>
Make sure you perform regular maintenance tasks:
pm2 logs <your-app-name>pm2 monitYou now have a production-ready PayloadCMS instance running on CloudPanel. Remember to monitor your application’s performance, keep dependencies updated, and maintain regular backups of your data.
Last Updated: